If you follow this tutorial your result will look similar to these ones:
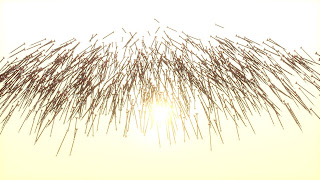
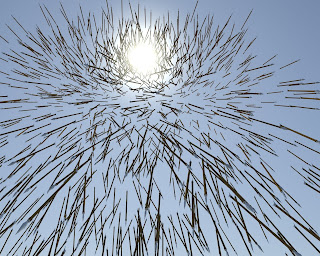
Note: there is a similar tutorial on the internet which shows you how to create the arrows using the same techniques, but I will show you how to make the arrows penetrate any object that you want and I will cover rendering techniques as well.
Please see all the images under each step for a better understanding. (Scroll Click to open links in a new tab)
So let's get started...
Resources: I'll focus on the particles setup in this tutorial so I'll not cover any modeling techniques for the arrow. We'll need an actual arrow geometry to work with inside the Particle Flow. If you want, you can create your own arrow, but for the sake of this tutorial I will upload a FBX file for you to import. To download the arrow use the following link:
https://rapidshare.com/files/457682600/Arrow_Exported.FBX
The arrow is very simple and it looks like this:

Note: In the video above I've used another model which had a very low poly count, for a faster render.
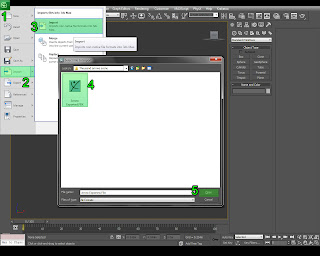
First Step: Open 3Ds MAX, go to File - Import and choose Arrow_Exported.FBX from the Browse tab.
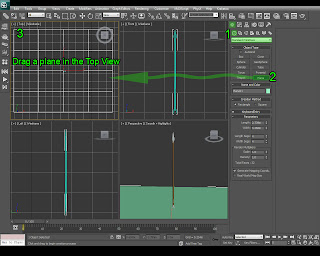
Step 2: Go to the Create Panel - Geometry - Standard Primitives - Plane and drag a Plane in the top view.
Step 3: If you have a shield model which you can use then import it in your scene, if not we will use a simple cylinder. Inside the Create Panel - Geometry - Standard Primitives pick Cylinder and drag a cylinder like the one below in the Perspective View.
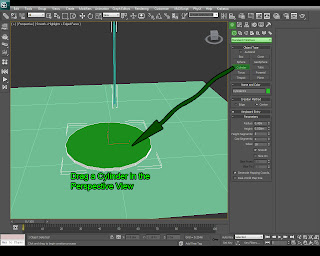
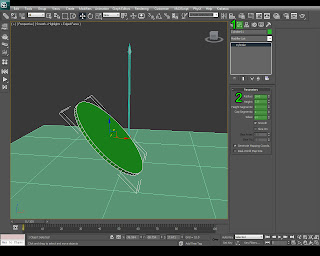
Step 4: Move the cylinder above the plane and rotate it a bit, then go to the Modify Tab and use the following settings:
Radius: 16
Height: 1
Height segments: 1
Cap segments: 1
Sides: 64
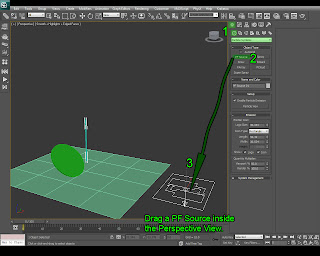
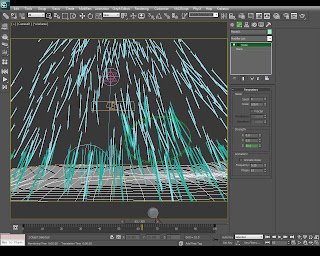
Step 5: Now go to the Create Panel - Geometry -Particle Systems - PF Source and drag a PFSource in the Perspective View:
Step 6: With the PFlow selected go to the Modify Tab and open Particle View (hotkey: 6). Inside you will see a logical node system which controls all the particles generated by PFSource 01.
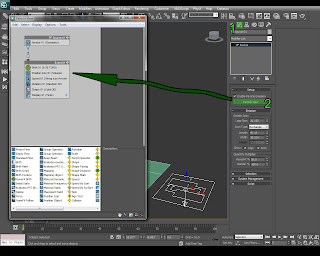
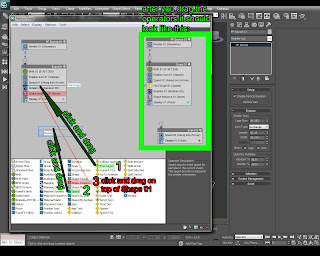
Step 7: We'll need to make some changes inside the Node system. First drag a Find Target Test Event under Speed01 (nr. 1 in the image), make sure a blue line appears and not a red one because the red one replaces the operator that you drag with the one behind the line. Then REPLACE the Shape01 operator with a Shape Instance operator (nr. 3 in the image) (now make sure the red line appears when you drag Shape Instance on top of the Shape01), and after that drag a Speed operator (nr. 2 in the image) under Event01 to create a new event which will be automatically named Event02. See the picture below for a better understanding of what's going on.
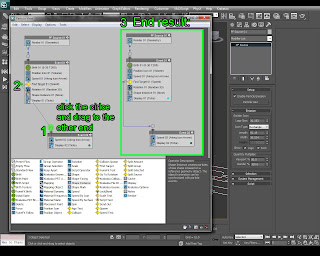
Step 8: Now we'll need to connect the 2 events together by clicking on the Event02 circle and then dragging to the other end (Find Target), after that a blue line (Wire) should appear between the two events.
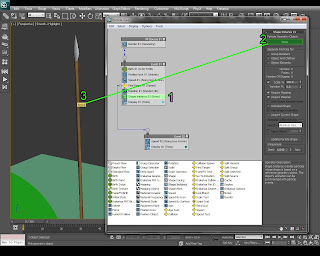
Step 9: We now have the logical events completed. Next we'll need to change only parameters to create the arrow scene. First go to Shape Instance and click the None button, then click the Arrow geometry in the viewport. (the button should change it's name to Arrow).
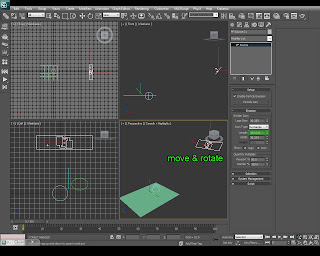
Step 10: Back in the Perspective Viewport move the PF Source 01 and rotate it similar with the image below, and change it's length to about 110.
Step 11: Inside the Particle View change the Display to Geometry.
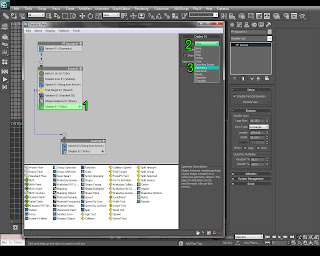
Step 12: Inside the Particle View change the Rotation to Speed Space Follow and change the value of the Y axis to 90 degrees.
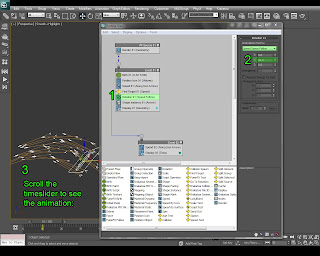
Step 13: Go to Find Target Test Event and under the Target tab choose Mesh Objects and Add the Plane 01 and the Cylinder 01 to the list.
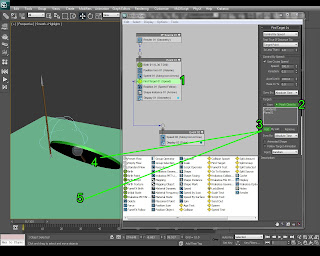
Step 14: Go to the Event02 - Speed02 and change the Value to 0. This way the particles will stop after they reach the target (in our case the plane and the cylinder).
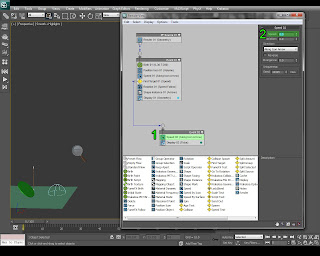
Step 15: Inside Event02 change the Display02 to Geometry as well.
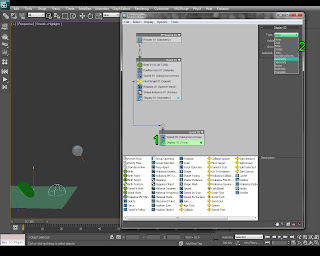
Step 16: Our particles are controlled by speed by the Find Target. If you play the animation you'll see that the arrows form a very sharp angle before collision. To change the angle we'll need to change the Speed01 value. Go to Event01 - Speed01 and change it's value to 600 (this value is not fixed , it varies on the distance between PFSource 01 and the Find Target meshes so feel free to test the values which fit your needs.
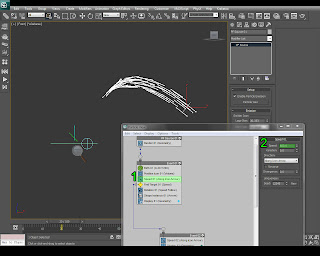
Step 17: In the Particle View - Shape Instance change the Scale % value to 60%
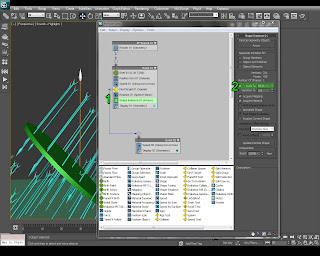
Step 18: In the Particle View - Birth 01 Operator change the Amount of particles to 1000. Now we have finished the particles animation, next we will use mental ray to render the scene.
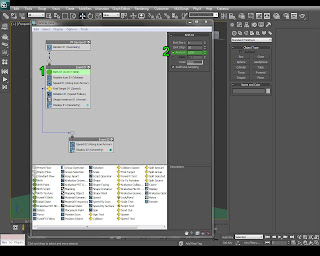
Step 19: Press F10 on the keyboard to bring up the Render Settings. In the Common tab scroll down to Assign Renderer. then press on the [...] box and choose Mental Ray Renderer from the list.
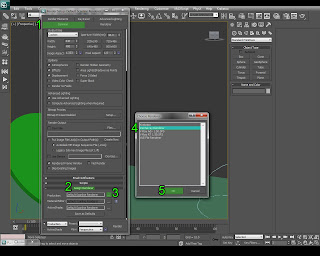
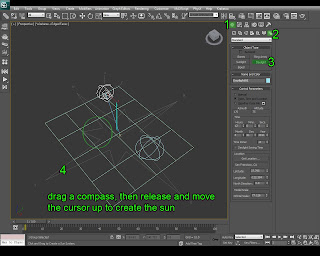
Step 20: In the Create Tab - Systems choose Daylight (for the pop up dialog that appears choose yes for enabling exposure controls) and create a Daylight system in the Perspective view by dragging a compass, then releasing it and moving the cursor up to create the Sun.
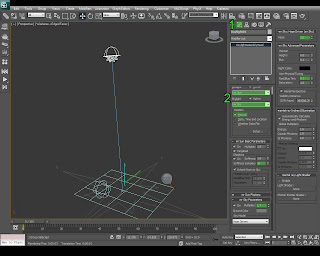
Step 21: With the Daylight 01 Selected go to the Modify tab and choose the following parameters:
Sunlight: mr Sun
Skylight: mr Sky (choose yes for the pop-up dialog that appears)
Position; Manual (this way we can move the sun where we want)
mr Sun Basic Parameters roll-out : Softness Samples 16
mr Sky Parameters roll-out: Multiplier 1.7
mr Sky Haze Driven roll-out: Haze: 2
mr Sky Advanced Parameters roll-out: Red/Blue Tint: 0.1
You should better use the image for this step for a quicker way of changing the values.
Step 22: Remember the quote from the movie 300?
"- Our arrows will blot out the sun. "
"- Then we will fight in the shade "
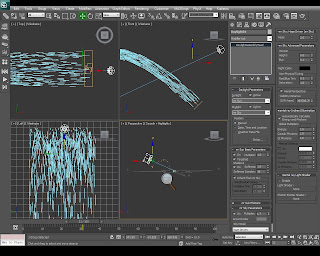
We'll have to do the same thing... to block the sun with the arrows. To do this we have to position the Sun from the Daylight 01 behind the PFSource emiiter. With the Daylight 01 Selected go to the Select & Move tool and position the Sun behind the emiiter like in the image below:
Step 23: Right click the Arrow in the viewport and choose Hide Selection.
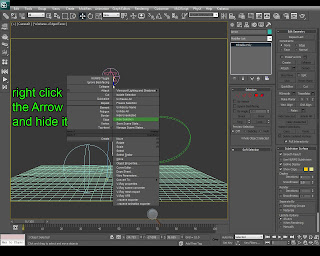
Step 24: Create a Camera view that you want by pressing Ctrl+C in the viewport and then select the ground plane (Plane 01) , go to the Modify tab and adjust the length so that you don't see the edges, the segments and the scale like in the image below:
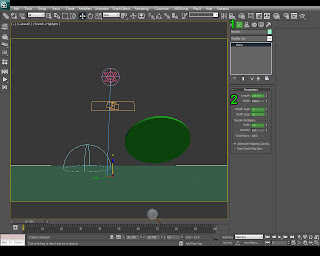
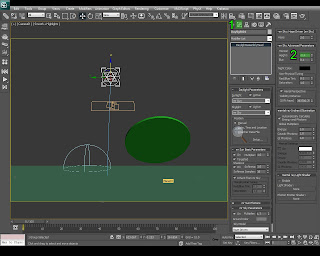
Step 25: If you make a render you will see that there is a gray gap between the sky horizon and the plane. We need to fix that by going to the Daylight inside the Modify tab and inside mr Sky Advanced Parameters lower the Height value to: -0.4 . If you still see the gap try to lower it even more.
Step 26: Now our scene is ready except our arrow materials. Press M on your keyboard to bring up the Material Editor and select a New Material, then click on Standard and pick a Multi/Sub-Object material from the list.
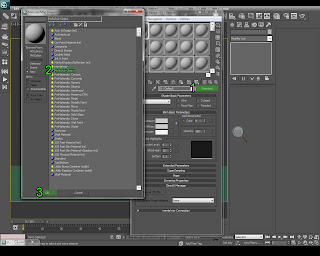
Check Discard old material box and hit OK.
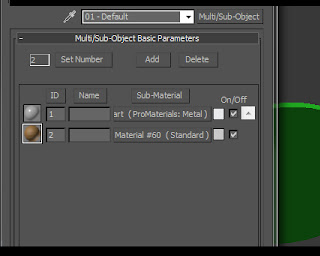
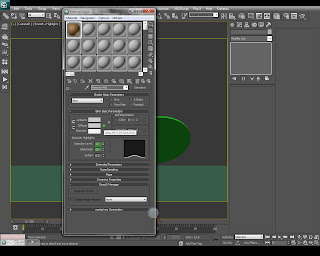
Step 27: Inside the Multi/Sub-Object Material press on Set Number button and pick 2. Inside the first material (ID 1) make a metal material and for the second one make a wood one. (The arrow which I created has Material ID 1 for the metal parts and Material ID 2 for the wooden part). I've chosen a Pro Material Metal for the first ID and I've used a Standard Material with a wooden bitmap inside the Diffuse slot.
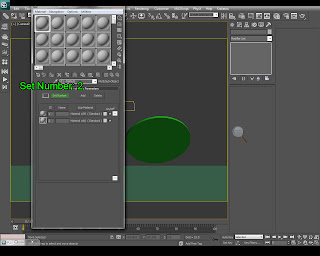
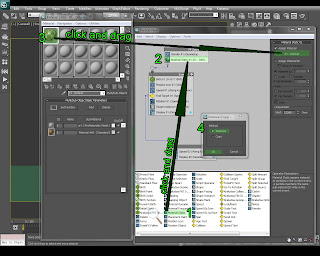
Step 28: Go back to the PFSource 01 - Particle View and add a Material Static Operator right under Render 01 (Geometry). Then with the Material Editor opened drag the Multi/Sub-Object material into the None slot and choose Instance and hit OK.
Last step: For the ground (Plane 01) use a ground texture material and you can even apply the Noise modifier to the plane to create some displacement (Modify Tab - Modifiers List - Noise).
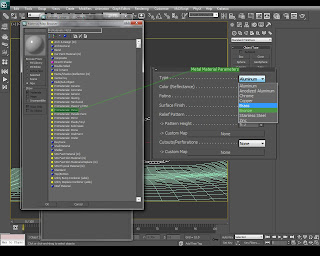
Step 30: For the shield I've used a Pro Materials Metal and I've chosen Bronze.
Try to create a higher terrain like a hill or a mountain like in my video, to hide the PFSource behind it so this way we will not see the arrows spawning at frame 0 in the air.
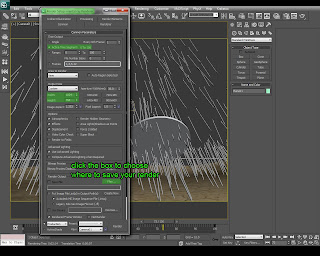
Final step: Press F10 to open the Renderer Setup, chose your resolution for the render and where to save the rendered frames:
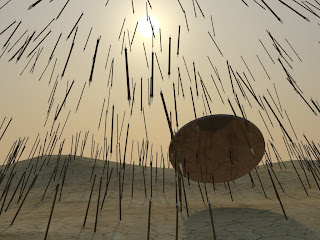
Rendering result:
If you have any question about this tutorial please post it in the comment section. Thanks for watching. See you next time. Bye
