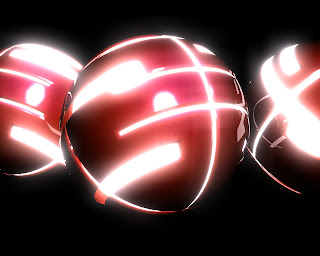
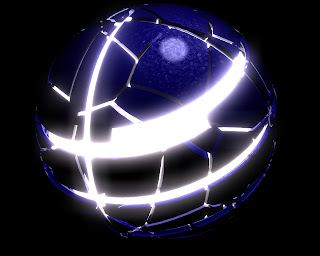
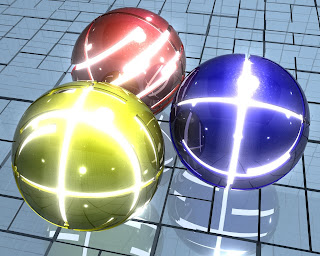
or with more reflections :) ....
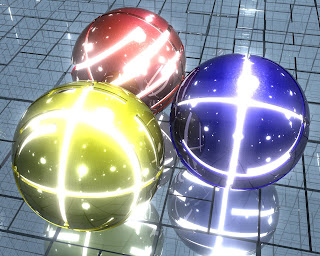
So let's get started...
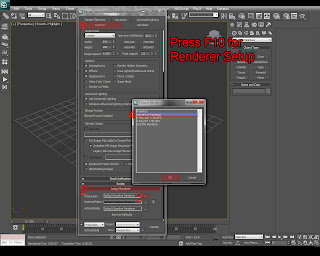
First step: Inside 3Ds MAX press F10 to bring up the Render Setup, go to the Common tab - Assign Renderer then click the [...] box and select Mental Ray Renderer from the list.
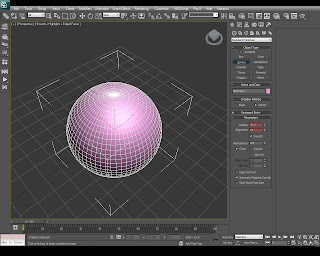
Step 2: Go to the Create Panel - Standard Primitives and create a Sphere with a Radius of 30 and with 64 Segments.
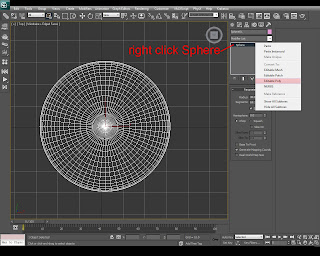
Step 3: Right click the Sphere in the Modify panel and click on (convert to) Editable Poly.
Step 4: Inside the Editable Poly go to the Polygon Selection and then in the Top View select half of the sphere's polygons and hit Delete on your keyboard.
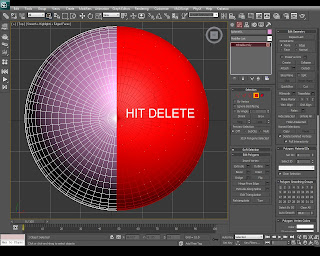
Step 5: Now select half of the sphere again and hit Delete, so will end up having only a quarter of the actual sphere.
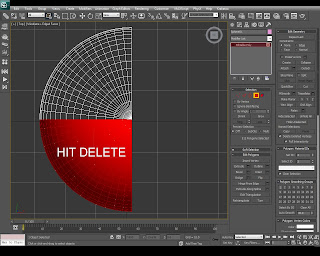
Step 6: With the quarter selected go to the Mirror tool and make sure X axis is selected, make the Clone Selection a Copy and hit OK.
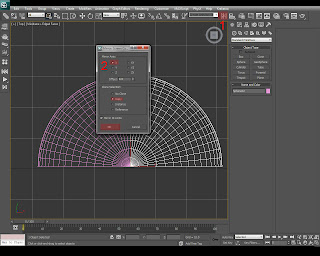
Step 7: Next move the Cloned sphere on the X axis to make a small gap between the two spheres.
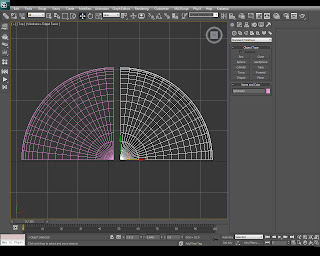
Step 8: Select both sphere objects and press on Mirror again.
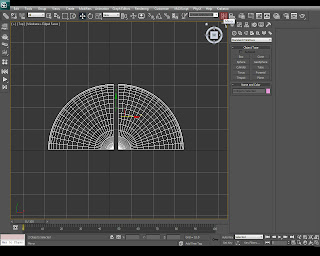
Step 9: Inside Mirror Settings enable Y axis make it a Copy and adjust the offset to match the size of the gap that you created earlier.
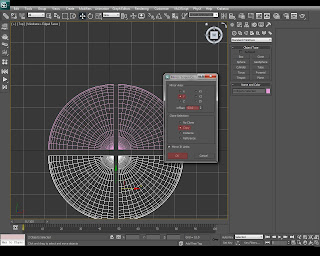
Step 10: Now select any quarter and go to the Modify tab - Editable Poly - Attach Settings.
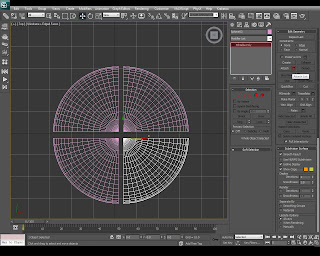
Step 11: From the Attach List pick the other 3 quarters and hit OK.
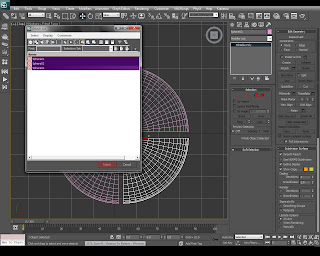
Step 12: Now we will have only one object and we need to center it's pivot. To do that go to the Hierarchy Tab - Adjust Pivot Only - Center to Object.
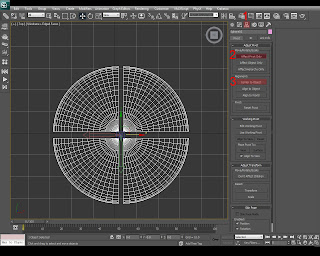
Step 13: Go to the Front View, and with the Polygon Selection select random faces on the same line, then press DELETE on your keyboard. (HINT: hold CTRL and click or drag to select multiple faces / hold ALT and click or drag to deselect).
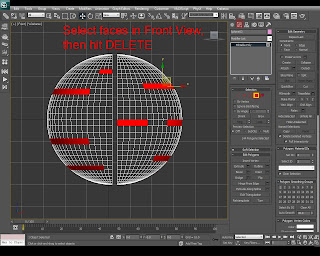
Step 14: Head over to the Left View and to the same thing but select less faces than you did before and delete them. (see the image below)
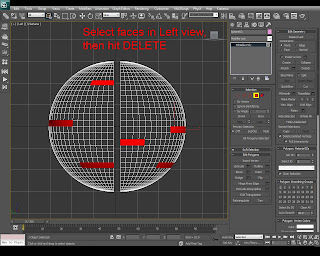
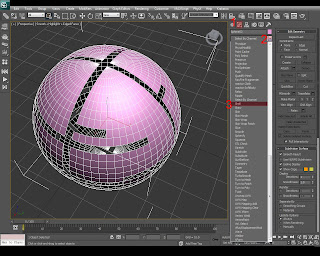
Step 15: After you have deleted the faces we'll need to apply a Shell modifier to give depth to the geometry. With the Sphere selected go to Modify Tab and select a Shell modifier from the list.
Step 16: After you have applied the shell you'll see that the edges are sharp so we'll need to change that too. Go the the Create Panel - Shapes - Line and create a line with a smooth bezier in the middle (see the image).
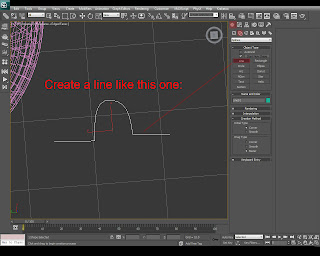
Step 17: Now back in the Shell modifier thick Bevel Edges and click the None box then select the Line01 to make the edges round.
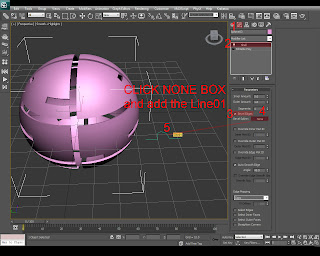
Step 18: Next we'll need to change the Sphere's coordinates to match 0 0 0 in the Absolute World Space. With the sphere selected right click on the Select and Move Tool and make
X: 0,Y:0, Z: 0.
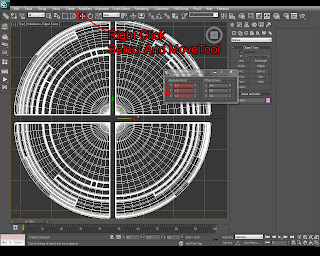
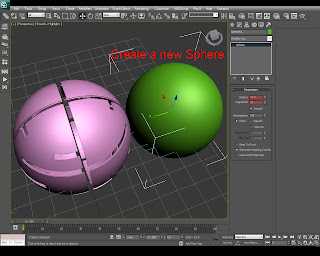
Step 19: Create a new Sphere from the Create Panel - Standard Primitives - Sphere. Change it's radius to 29 and the segments to 64.
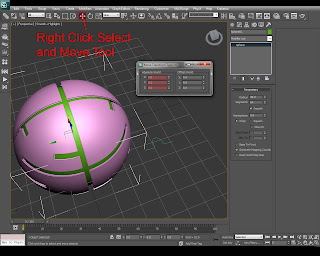
Step 20: We'll need to change the second sphere coordinates to X:0 Y:0 Z:0 inside Absolute World. To do that right click Select and Move Tool again and make X:0 Y:0 Z:0.
Step 21: Press M on your keyboard to bring up Material Editor and select an empty material, then click the Standard box and pick a Car Paint Material from the list.
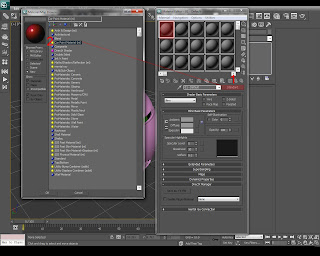
Step 22: Select another empty slot and click the Standard box again but this time pick an Arch&Design material.
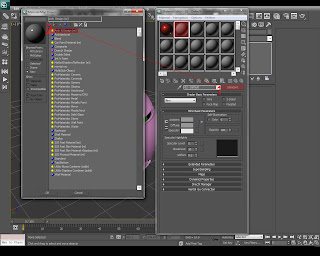
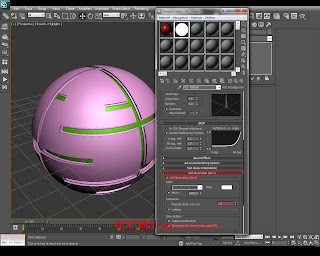
Step 23: Inside Arch & Design scroll down to Self Illumination (Glow) and thick Self Illumination (glow) case then change the Luminance value to 1.8, and if you wish to illuminate the scene with the glow thick Illuminates the Scene (when using FG).
Step 24: Select the second sphere (the one that's inside the shell) and apply the Arch&Design material to the selection by pressing Assign Material to Selection button inside the Material Editor.
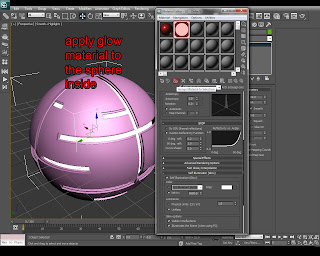
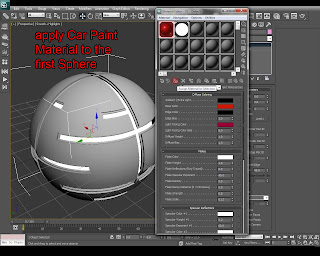
Step 25: Now apply the Car Paint Material to the outside shell using the same button but selecting the sphere on the outside.
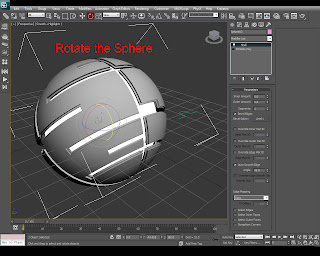
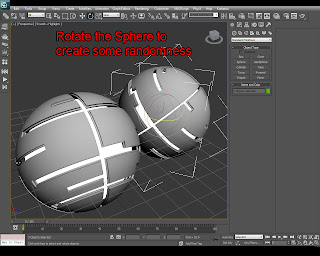
Step 26: Rotate the Sphere to give it a more random look.
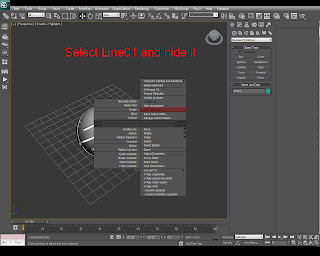
Step 27: Select the Line01 (the one that we used inside the bevel edge inside the Shell modifier) and right click it then press Hide Selection.
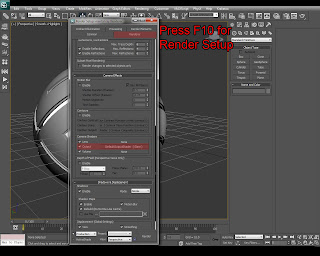
Step 28: Press F10 to bring up Render Setup and go to the Render tab, scroll down to the Camera Shaders and thick the Output case to enable the glare shader.
Step 29: With the both spheres selected hold shift and drag them with the move tool across the Y axis to create a clone. From the dialog that pops up pick Copy and hit OK.
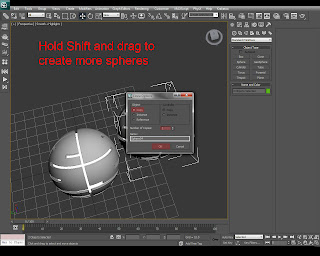
Step 30: Using Select and Rotate tool rotate the sphere that we cloned to create some randomness between them.
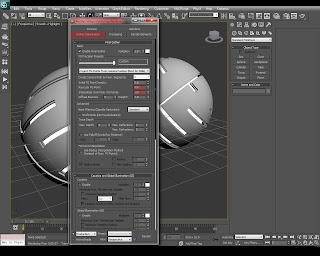
Last Step: Hit F10 to bring up the Render Setup. Go to the Indirect illumination tab and change Rays per FG point to 400 and Interpolate Over Number FG Points to 150. Now you can render and achieve better results.
If you have any question about this tutorial please post it in the comment section below.
I hope you enjoyed the tutorial and that you've learned something from it. Thanks for watching, see you next time with another tutorial. Bye-bye!
